Embrace the coziness of the season through crafts! One charming and whimsical kid-friendly project that captures the spirit of the season? A DIY Pinecone Gnome! These cute little characters bring a touch of woodland enchantment to your home.
We'll take you through the steps of making this kid-friendly Pinecone Gnome! The best part about this craft? You can find most of what you need to make this project in or around your home (maybe even in your backyard).
DIY Pinecone Gnome
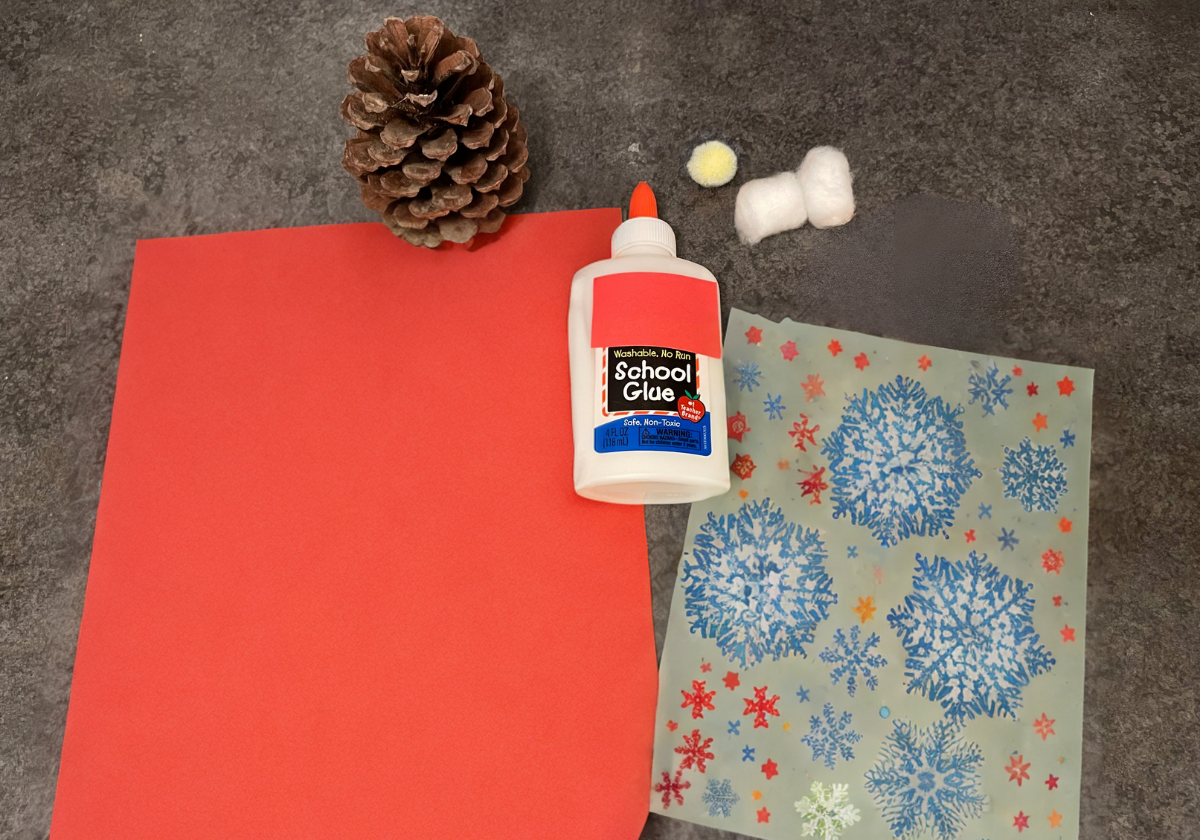 |
Supplies:
- Pinecone
- Paper for the gnome hat
- Glue or glue dots
- Small pom-pom (for the nose)
- Cotton balls
- Stickers
- Sandpaper (optional)
 |  |
 |  |
Directions:
- Collect a pinecone from the outdoors (you can also buy these at craft stores). Try to find one that can stand up on its own when put on its base. Check your pinecone for prickly edges. Use sandpaper to remove any pointy spots.
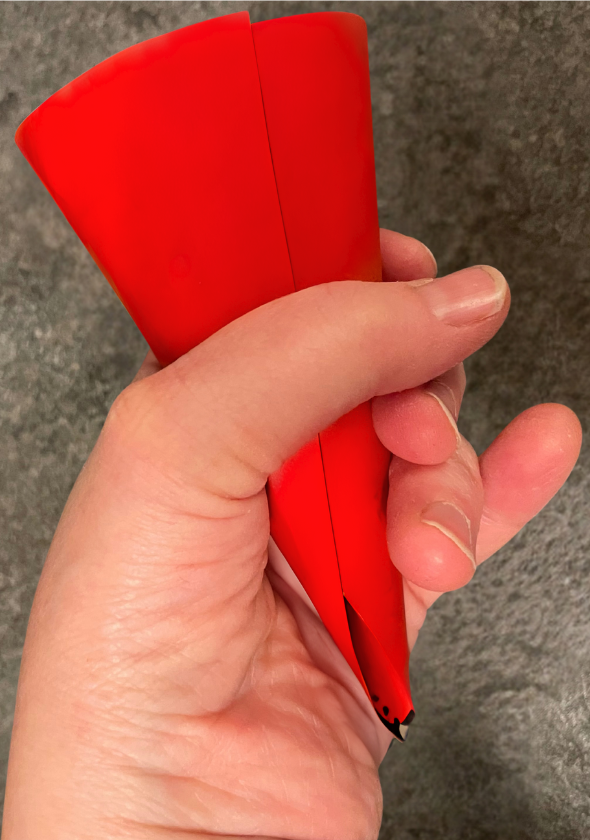
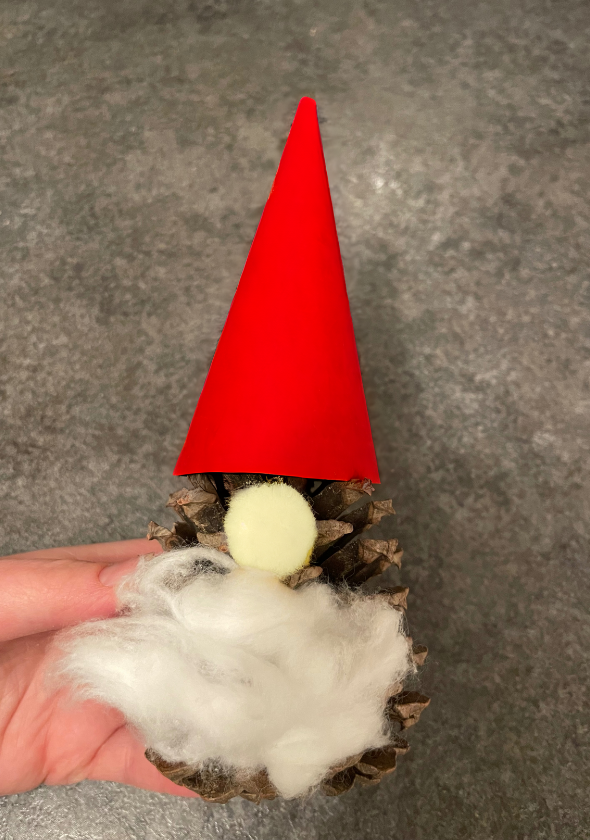
- Cut out a conical shape for the hat. Glue it into a cone shape.
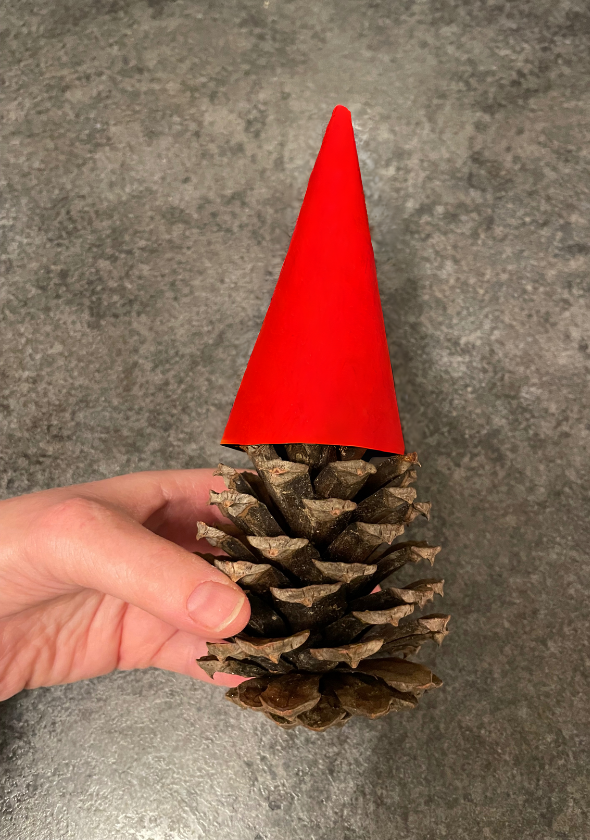
- Attach the hat to the pinecone by pushing it onto the top. If it doesn't want to stay put? Glue it into place.
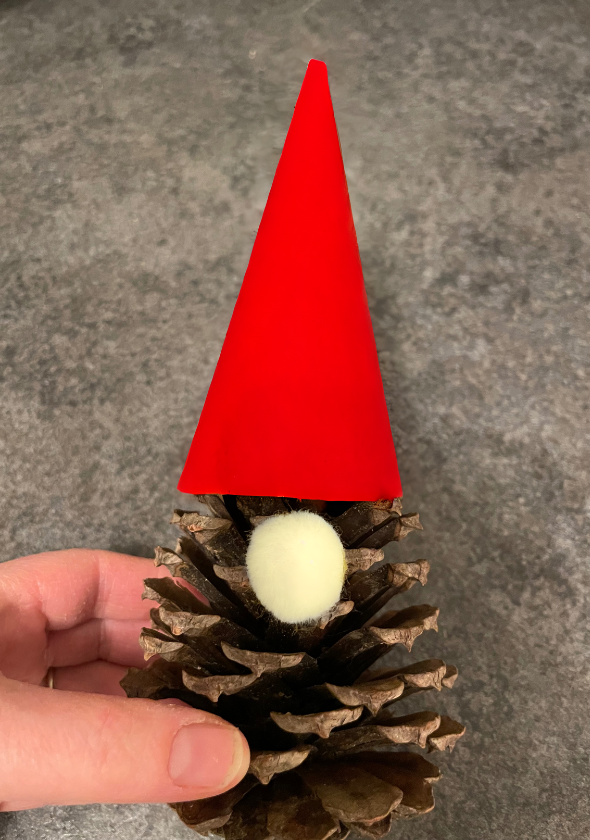
- Push a pom-pom between the scales of the pinecone underneath where the hat sits. It will likely stay in the pinecone all by itself, but you can use a glue dot to secure if you prefer.
- Pull apart a cotton ball to make the gnome beard. Push it into the pinecone scales underneath the pom-pom nose. It should stay, but you can glue if you prefer!
- Decorate your hat with stickers.
Your gnome is ready for display! Tuck it into a Christmas tree for a surprise, display on a mantle, or even add a tag with your child's signature and the year and give it to grandma for a one-of-a-kind gift.


